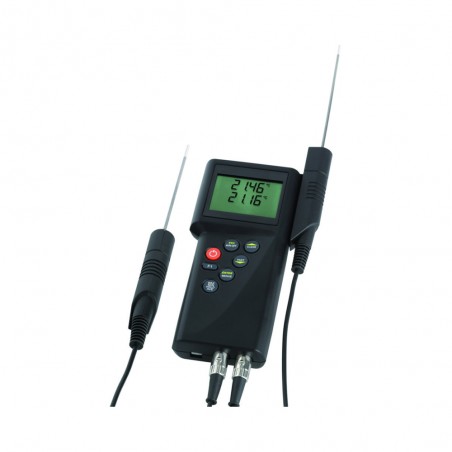


The multi-function-instruments are outstanding for their high accuracy of ± 0.01°C. You can The high precision makes them eminently suitable as reference instruments. For testing subordinate measuring instruments in quality assurancelaboratories or for checking temperature-critical processes. These instruments are frequently provided with a DAKKS calibration certificate.

To minimise measurement uncertainty of the complete system (instrument and sensor) the P700 series and T900 series measuring instruments have a special calibration function which compensates the sensor tolerances when a sensor is replaced. To this end all our measuring sensors are tolerance calibrated in our laboratory. The determined deviation is converted into a number code which is marked on the sensor. This code contains information on the sensor deviation at zero point and the increase in relation to the respective DIN Standard on which it is based.
The number code is simply entered in the measuring instrument and is stored by means of the instrument control panel or the software and interface. The instrument processor corrects the tolerance of the measuring sensor defined by the number code and corrects the measuring error resulting out of this. The corrected measured value is displayed in the LCD. The measuring instruments can be calibrated to uncoded measuring sensors through a further instrument function by simple physical compensation (comparison measurement).
At the same time this function can be used to easily correct any possible drift error caused by ageing of the sensor, for example. For the physical calibration you can select either a 1, 2, or 3-pointcalibration. To implement this function the measuring sensors to be calibrated are immersed, for example, in two reference temperature points (optional 1 or 3 points) one after the other and the values entered into the instrument through the keyboard. The instruments monitor the calibration process automatically so that the operation is automatically broken off in the case of references which are unstable, for example, in order to be able to continue to use the previously valued correction values in the processor.
To achieve good results only such references should be used for calibration the maximum error of which are lower than the specific error limits for the respective instruments by the factor 3. The DE-Graph software offered for the measuring instruments permits simple, efficient administration of the various measuring sensors and pertinent number codes and the transfer for readout of the appropriate code on the measuring instrument. As a result the above-described calibration function eliminates the influence of the sensor error to a great extent and permits system accuracy which is about the same as the accuracy of the measuring instrument itself. The resulting high system measuring accuracy predestines the measuring instruments for applications in quality assurance and laboraratory.
You may also be interested in the following products